
With both residential and commercial repaints, proper preparation is essential, for both a good-looking final job and also to guard against coating failure in the future.
Because the factors that contribute to coating failure are often impossible to see in the finished job, and because it very somewhere between difficult and impossible to correct after a job is complete, it is imperative you verify surfaces to be painted are clean, dry and dull. These three simple steps will prevent most all coating failures.
For interior repaints, ‘clean’ usually means vacuuming up all dust, cobwebs and other loose items from walls, trim, windows, and doors. Pay special attention to the tops of doors and windows, as well as inside the windowsills and HVAC vents. However, sometimes there is grease or visible dirt, which will need to be removed. We recommend and use a product called Dirtex for these types of prep jobs. For exterior repaints, it means power washing all surfaces to be painted.
"If you cut corners with preparation you'll pay the price down the road."
Hopefully, having surfaces dry is only a problem with exterior repaints, but in general, surfaces should be completely dry before painting. With some coatings, this is essential. Follow the paint manufacturer’s recommendations, but a good rule of thumb is that exterior wood should have less than 12% moisture content for painting.
Three keys to proper paint preparation: make sure surfaces are clean, dry and dull. It's not very exciting, not much fun and often overlooked. The good news? It's relatively simple to do.
Mark Fuqua Founder, Remark Painting
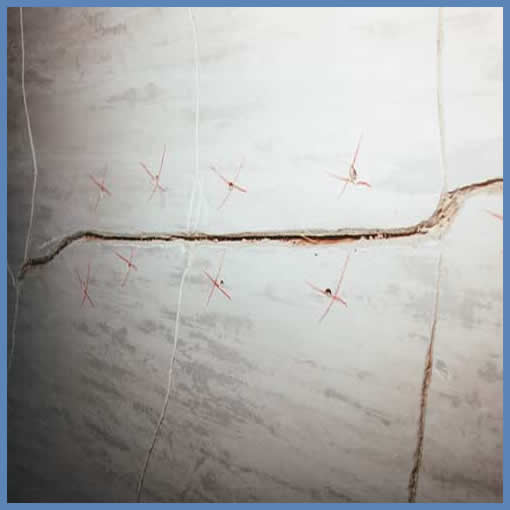
The final step to guard against paint failure is to make sure shiny surfaces are ‘dulled’ by sanding with a fine grit sandpaper or sanding sponge (IMPORTANT Always make sure you are not sanding lead-based paint. If the property was constructed before 1973, just assume lead is present. We test for lead on any property built before 1980. If there is lead present, you CANNOT sand the surface, although you can still use a chemical deglosser). The object here is not cosmetic, we’re not trying to fix any surface imperfections, we just want to just give the new paint a good surface to grip. Sanding is usually not necessary on flat (low/no gloss) surfaces.
With the rest of these preparation steps, it’s more about having a professional look at the end of the job. These steps include repairing nail pops and other defects in the drywall or plaster walls, caulking cracks in the trim, removing switch plates, outlet plates, window hardware and vent covers. It is also a good idea to determine if pictures and curtains will be reinstalled in the same place. If they will not, remove the hardware and patch the holes prior to painting. And hopefully, this doesn’t really need to be said, but make sure you cover, protect, and mask those areas that are not getting painted.
Doing the correct prep work sometimes takes more time than the actual paint job, plus it is not very exciting or fun and therefore, is often overlooked. However, following these steps will help ensure a good-looking, long-lasting paint job; skip them at your peril.


Related Articles

If Ben Moore Aura is so revolutionary, why don't more professional painters like it?
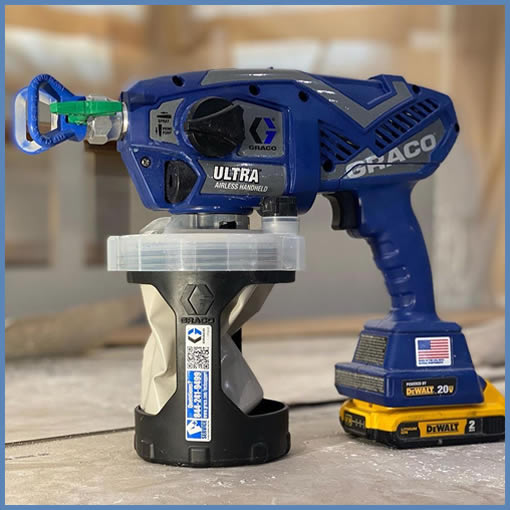
Beyond a doubt, the most innovative painting tool in the last 50 years...seriously.
As with many tasks, there is the right way, the wrong way, and a more nuanced way...
Product Brochures
See our recommended Residential, Commercial and New Construction products and download their associated brochures.
Download brochuresMaterial Safety Data Sheets
Download an MSDS for any of our recommended Residential, Commercial and New Construction products, by clicking on the button below.
Download MSDS's